

As committed as you might be to the DIY cause, painting your house is a daunting task. It’s a ton of work, it can be stressful, and you’ll be exhausted at the end of each day. You may even want to put some items into storage to keep them out of the way while redecorating takes place. It’s a big task and that’s why it’s important that you steel yourself beforehand, and remain steadfast throughout. The work will be long and hard, but the end can be rewardingly satisfying if you stick to it.
Let’s have a look at some tips that could make the painting process somewhat easier.
For the Exterior
The exterior paint on your house is its first line of defense against external conditions like snow, ice and rain. Plus, if you want to sell your house, a good paint job will add to its curb appeal, and by extension, may improve its resale value. Don’t wait until it’s time to sell your place to repaint the exterior, however. You’ll want to repaint whenever the paint begins to crack, peel or blister. If you don’t, you’ll have to commit yourself to a more extensive and expensive paint job.

Whether your paint job is extensive or not, you’ll want to follow the advice below for best results.
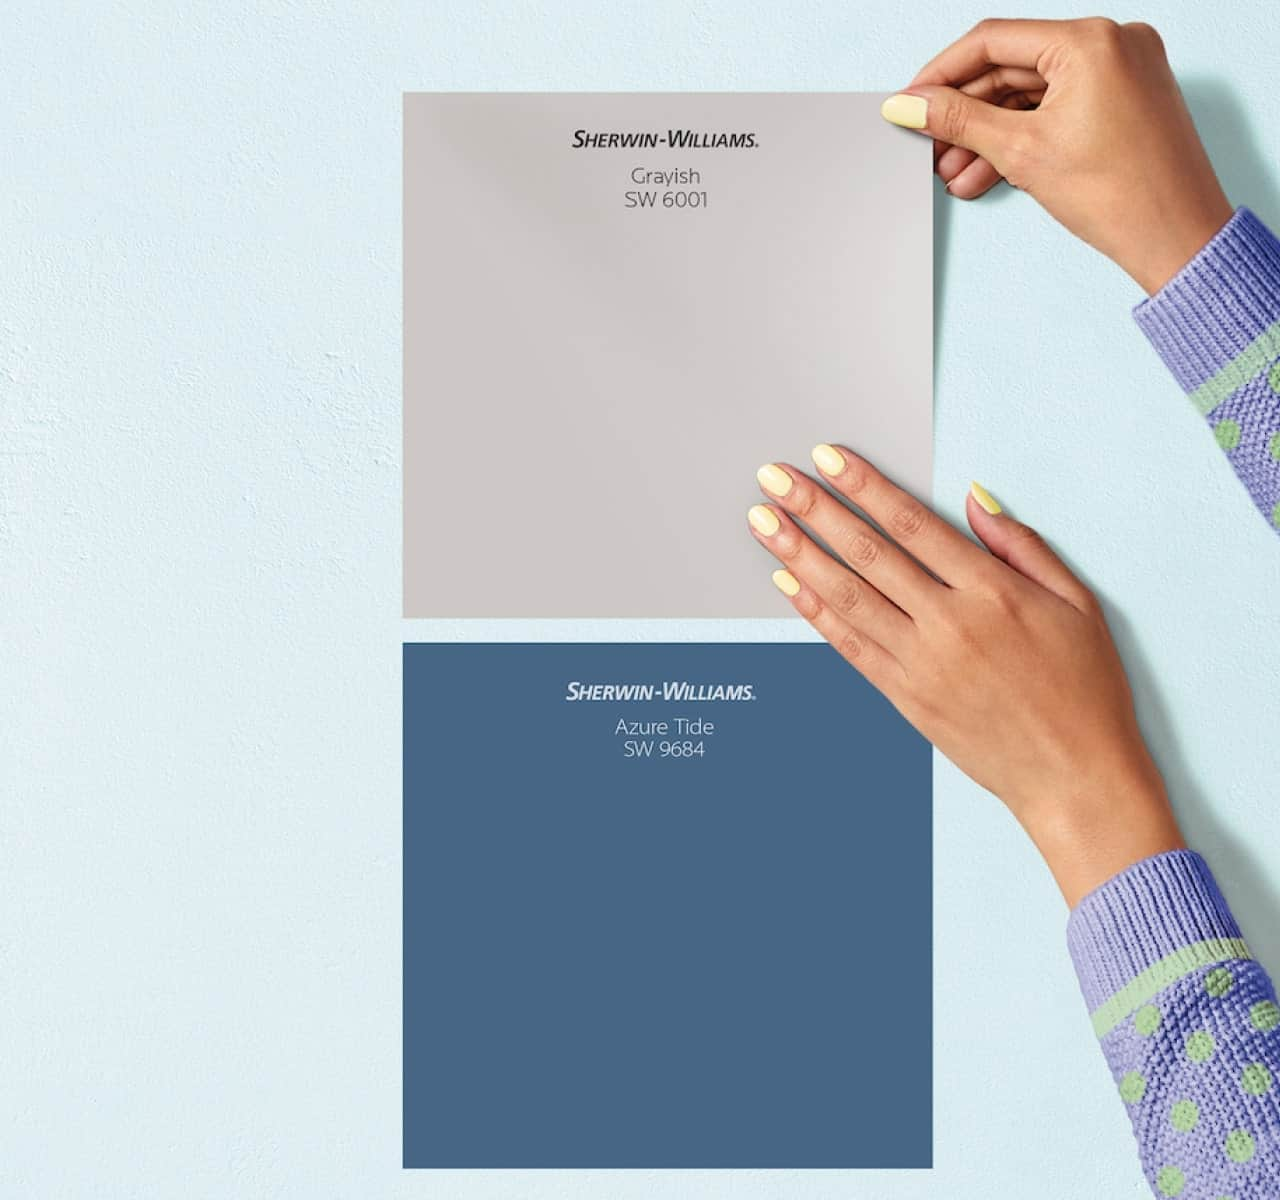
Choose your paint wisely
Exterior paint comes in two basic types. You have your easy to clean water-based latex, and the professionally-preferred oil-based alkyd. Your choice depends on your own technical proficiency. The former dries quickly, can be cleaned using soapy water, and its odor isn’t as strong. Plus, the paint is relatively flexible, so it doesn’t crack so easily. The latter can’t be cleaned up with soapy water, requiring paint thinner for that process instead. It dries slowly and its smell is markedly stronger. However, it’s favored by professionals for its stain-resistance, durability and smooth flow.

Factor in your budget when you’re choosing the paint too. The majority of paint manufacturers will offer a wide range of products across the spectrum of good to best quality. First make a budget for how much you want to spend on your paint project, and then buy the best paint you can afford based on that budget. Yes, when it comes to paints, the costlier the product the better. This is because more expensive paints will contain more pigments, and so create a coating that’s thicker, more protective and lasts longer.
Prep the surface well
- Never start painting without first cleaning all the grime, residue and dirt off the house’s exterior. Otherwise, the paint won’t adhere as firmly to the surface. You can use either a power sprayer to do this, or a stiff-bristle brush to scrub the surface by hand.
- It’s ok to paint over a surface that already has paint on it, but only if that paint is in good condition. If the paint is blistered or has flaked off, make sure to scrape it off and sand the spot over. Plus, you’ll need to prime bare wood before painting over it.
- Tap any nail heads below the surface with a hammer and use exterior putty to fill the holes. Sand the putty flush after it is fully cured.
Paint in the shade and choose the right season
First of all, that’s just going to be more comfortable for you. Secondly, fresh paint dries more quickly than it should when it’s applied to a surface that was baking in the sun. Because of this, it won’t be able to adhere to the surface properly, and so will be more prone to flaking and blistering. Either choose an overcast day to paint, or start the job on the shady side of the house. Once the sun moves, the other sides will be shaded in their turn.
And make sure to paint in the right season, or you’ll constantly be in a battle against the elements.
Use both a brush and a roller
Use a brush to paint on smaller areas, edges and narrower surfaces, and a roller to paint long and large surfaces like the trim and siding.
Avoid paint sprayers, leave that to the pros. They’re actually more work than you might expect, since they require a great deal of prep work. You’ll have to mask all the areas that don’t need to be painted, and tarp five or more feet beyond your house.

Don’t think that you can paint the entire house all at once
Think of each side of the house as a separate project into itself. Start with a single side and don’t think about the other sides until you’re done with the first. It’s also a good idea to do the boring parts first. Painting under the eaves feels like hard work, and you’re going to be way less enthused about doing it if you’ve already got the fun parts out of the way. Think of painting the fun parts as a reward for doing the hard stuff first. Or adopt a carrot and stick approach. Whenever you finish a hard section, give yourself a more interesting part to do for a while.
Oh, and be smart. Don’t waste time trying to perfect the paint in areas that won’t be visible, like under the eaves. Focus the tender loving care on places like the façade and the doors.
Start from the beginning
Let the top of your house be the starting point. Paint the bottom edge of the siding, and then paint the broader surfaces. Work your way down the house. Remember to stay safe on the ladder! If you reach too far to the side, you may topple over. It might seem a hassle to climb down, move the ladder and climb back up every time you’re done with a section, but it could save you a broken neck. If you’re on an extension ladder, paint as far as you can while remaining safe and comfortable.
Make sure to use even the smallest step of the ladder, however. Painting far above your head is strenuous work, and the more you minimize this action, the less pain you’ll be in at night.
Do your best to brush from one wet surface to another in order to avoid lap marks, or at least overlap on dried surfaces by more than a few inches.

For the Interior
A good interior paint job can make or break a home. Accordingly, it’s important to pace yourself and make smart decisions regarding this. Here are some tips that can make this easier.
Roll the full height of the house
You want to avoid lap marks? Always roll the full height, and keep a wet edge. Just like with the exterior, painting on dried surfaces is not considered optimal, since it can leave ugly lap marks due to uneven paint buildup. Here’s the trick: always leave a wet edge. Every roller stroke should overlap the previous stroke before the paint dries on it. You do this by starting at a corner, and then running the roller the full height of the wall. Move to the side slightly with each stroke, and backwards when you need to even out runs or thicker spots. You’ll want to keep the roller wet at all times by reloading it enough that it’s always at least half loaded.
If you can’t keep a wet edge, feather the paint
Large areas like walls, ceilings and stairwells can’t be covered using the single and continuous strokes advocated in order to minimize lap marks. What you can do here instead is feather out the paint along the edges of paint that can’t be kept dry. By feathering out the paint, you make the paint thinner, and so reduce the amount of buildup that leads to lap marks being formed in the first place. As your roller gets dry, roll it out in different directions along the dry edge in order to feather the paint. Once you’ve completed the entire length of the ceiling or wall, paint over the feathered edges of the next section. Apply the paint of the second coat in the opposite direction, as this will reduce or even eliminate any lap marks.

Cut tape when paint is dry for a perfect edge
Don’t simply pull the tape off when the paint is dry, or you’ll risk tearing off a piece of the dried wall. Cut it loose instead after waiting for 24 hours for the paint to dry. Use a box cutter or utility knife for this purpose, starting in a less visible area to ensure the paint’s hard enough to cleanly slice through. (If the paint’s still sticky or gluey when you cut it, you’ll obviously make a mess. Pull the tape up as you cut.
Paint the trim before the walls or ceiling
This will first take care of the psychological burden of following fun parts with hard parts, like we discussed in the exterior section. But there’s another reason professionals recommend this order. It’s easier to tape the trim off than the walls, and you don’t have to be neat when painting the trim. Plus, you don’t have to worry if you get the trim paint on the walls, since you can cover it up later. If you paint the walls first, however, you’ll have to be extra careful to not get the trim paint on the walls later. Tape off the trim once it’s completely dry, then paint the ceiling and walls respectively.

Prime the walls and texture wall patches to avoid blotchiness
Even if the color on a freshly painted wall is uniform, the sheen might not be, especially over holes or cracks patched with drywall or filler. Paint over these cracks will look duller than the rest, and even the patches that are smooth will contrast badly with the bumpier texture over the rest of the wall. Avoid potential blotchiness by using a primer over the patch. Match the texture by feathering out the edges with a roller.
Clean dirty surfaces before you begin painting so the paint adheres to the wall more strongly
Clean the interior surface of the wall with a heavy duty cleaner or a deglosser in order to prep it for paint. These products will clean enameled, varnished and painted surfaces, allowing the fresh paint to adhere more strongly to the wall. It’s especially vital to use this on bathroom or kitchen walls, where oil and grease are likelier to accumulate. They’re also great for removing hand marks and fingerprints off doorknobs and light switches. Use an abrasive pad or lint free cloth to wipe the cleaner in a circular motion on the wall.
Protect the floor with cotton drop cloths instead of with plastic
As careful as you try to be, you’re bound to have some spills and messes happen. It’s much better to be prepared for this than to have to painstakingly wipe them off the carpeting or wood floor after the painting’s done. Don’t use plastic for this purpose, since the material is slippery, and hard to walk on or place a ladder firmly on. Plus, plastic can’t absorb paint, so the spilled paint will remain wet on it, potentially ending up on your shoes, and so around the entire house. Use canvas drop cloths instead, since these are thick and stay in place, eliminating the need to tape them. If you have hard floors, however, canvas might be slippery as well. In case your floors are tiled, made of hard wood or vinyl, tape rosin paper sheets together, and to the floor in order to avoid slippage.
Still, you’ll have to wipe large spills with cloth rags or paper towels even when you’ve laid down cloths or they might seep through to the carpet or wood below.