Painting drywall isn’t as intimidating as it seems! It’s a fairly simple process, but it does require meticulous care. If you’ve ever laid eyes on a newly installed drywall, you’re probably familiar with the exciting feeling of change!

So whether you’re looking to remodel your bedroom or changing the color scheme of your home, get familiar with the famous drywall. You’ll be grateful for the research!
What Is Painting Drywall?
Drywall is one of the most basic construction materials used. Commonly known as sheetrock, wallboard, plasterboard and even gypsum wallboard, not many homeowners are aware of this important material! Many also confuse it with simple plaster, too.
Drywall is used to create ceilings and walls, and add accents like eaves, arches and other forms of architectural feats. It also hides clumsy jobs like piping and dust. When commercially used, drywall is used on columns and masonry walls to conceal steel beams and what not! In other words, drywall helps to form the foundation of a structure.
Mostly made up of gypsum, wheat, grass and straw, another great thing that drywall is known for is its resistance to heat and fire. The material that drywall is made up of helps to contain fires so that easy evacuation can take place.
The most common types of drywalls are:
- Regular Drywall – used in homes and commercial buildings.
- Fire Rated Drywall – has more resistance to heat and fire.
- Impact Resistance Drywall – used in areas with a lot of wear and tear like dormitories and school buildings.
- Moisture Resistant Drywall – used in areas like basements, bathrooms and places that are more prone to humidity and moisture.
- Sound Board Drywall – used in buildings and homes where sound transference is an issue.
- Lead Lined Drywall – used in places of high radiation like laboratories or X-Ray rooms.
- Flexible Drywall – used in buildings and homes where tight arches and curves make up the architecture.
- Blue Board Drywall–used as a base for veneer plaster to achieve a certain aesthetic look.
What Paint Is Best For Drywall?
Experts suggest using high quality paint that includes a primer in its concoction. The idea is to use paint that will give you a smooth and natural effect.
Drywall is porous, and certain paint will soak right through the material. So before you or your contractor slather any paint over the surface, it’s best to prime it. We’ll get to that in a minute!
However, do remember that the quality of the paint job depends on the quality of the materials you invest in. So choose paints that are long lasting, able to deal with wear and tear and have a great finish.
Now that you’ve got a good idea of what paint you should use on your drywall, it’s time for the most important step: Prepping! But before you begin prepping, cover all important surfaces with a plastic tarp or masking tape. Make sure to move out bigger pieces of furniture if you can and even lay out a large mat at the bottom of the drywall to catch paint drips and sanding debris.
Preparing Your Drywall
Preparing your drywall can make or break your finished product. If you want a smooth wall with long lasting color and texture, it’s important to prepare the drywall.
Step #1 – Fill In the Gaps
Inspect the drywall for any nicks, gouges or small holes. These inconsistencies can ruin the look of your finished product and make the uneven texture quite obvious.
You can buy some fillers or sealants at your local contractor’s or use drywall mud. You can even mix 3 parts of baking soda in 1 part white glue and apply the paste over the inconsistencies to smooth out the surface!
Step #2 – Smooth It Out
After the surface has dried after the first step, it’s time to sand the surface. Sanding helps to thin out an overly thick surface and makes it smoother for better paint application.
A pole sander is a popular choice for sanding drywalls. Using light pressure, move the sanding material in a circular motion until the surface looks even and smooth. However, be careful not to go over board – sanding can leave some unsightly scratches if it is not done carefully!
Step #3 –Clean Up the Debris
After the first two steps, you’re bound to be left with some unsightly dust and debris. Before you proceed any further, it’s important to clean the drywall once more for consistency purposes.
With a vacuum cleaner, clean up all of the dust which is on the dry wall and in its corners. After you have vacuumed the surface nooks and crannies, mix a cup of white vinegar in a gallon of water. Using a large and soft sponge, scrub the wall clean. Let it dry.
Step #4 – Time to Prime
After your drywall has dried, it’s ready for priming! Primer or sealant helps the paint to absorb and settle better on the surface of the drywall. It also helps to enhance the appearance of your paint!
Choose a high quality, latex primer – remember, the better your primer, the better the results. Apply the primer like you would apply paint; for example, apply primer using high quality brushes and rollers, section the wall, and make sure to cover all edges.
Step #5 – The Finale
After the primer has set on the drywall, run your hand over the surface to check for inconsistencies or roughness. Should either of these exist, take a fine grit sandpaper and lightly sand the surface till it’s smooth.
Finish off by running a soft and clean microfiber cloth to clean away the dust.
Painting Your New Drywall

Now that your drywall surface is ready, you can begin painting! Again, check whether your other surfaces are well protected and that there is a plastic tarp at the bottom of the wall to catch any drops of paint or dust.
Step #1 – Choose Your Materials
Are you spraying the paint on or rolling it? Are you aware that spraying is quicker, covers more are and lasts longer? After you decide how you plan to paint, you can begin by investing in the right materials. Don’t shirk on the cost – after all, the better the tools, the better the job and end product!
Step #2 – Choosing Your Paint
There are tons of paint options and types to choose from. For example, flat latex paint is easy to touch up time and again without any unsightly streaks. High sheen finishes, on the other hand, are easier to clean, which makes them popular in rooms like kitchens, toilets or the toddler’s nursery. Satin finishes, for example, are also great – they’re durable and look great.
Step #3 – Prepare Your Tools
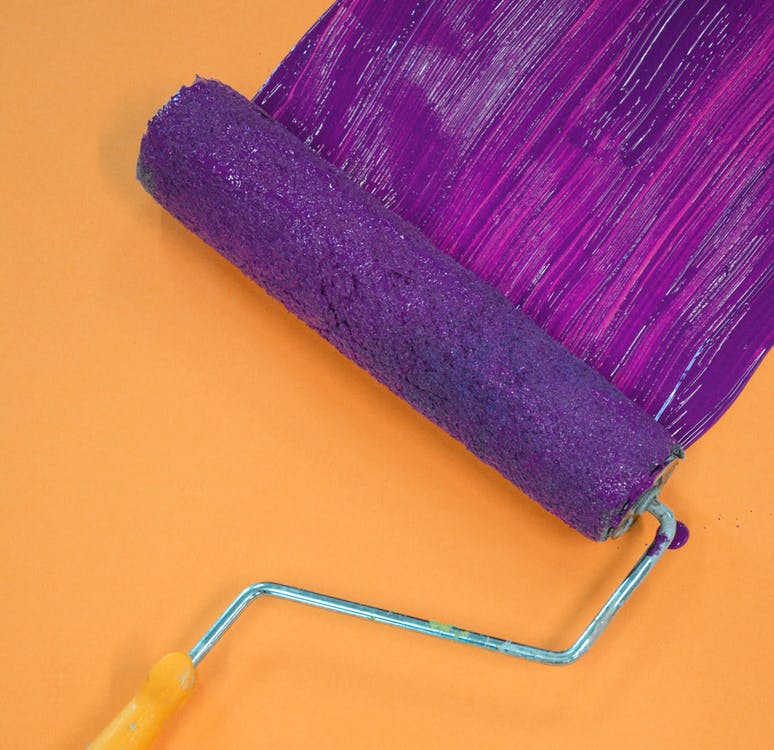
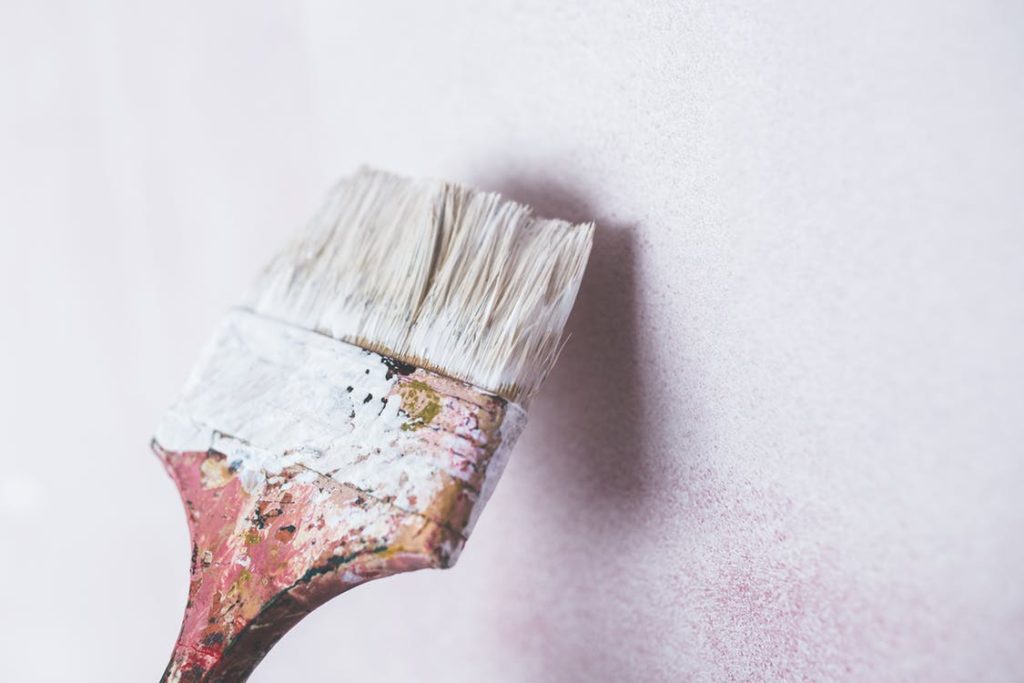
Begin by prepping your paint rollers – simply tape them over with masking tape and rip it off. This helps to get rid of loose fibers and dust that would have been on the rollers. Make sure your brushes are in good condition too; slightly tug on the bristles to see if any loose ones come off – you don’t want random bristles dried on your wall now, do you?
Step #4 – The Technique
Start by cutting in the edges to fill in the corners along the ceiling, floor and windows, etc. However, be quick when cutting in the corners; two people can work at one time so that the paint doesn’t dry too fast and leave behind visible lines.
To use the roller, begin by dipping your roller in the paint pan and getting a generous amount of paint on it. Work in small sections, which measure up to 2 – 3 three square feet, for smoother application.
Step #5 – Finishing Off
Let the first coat of paint dry before applying the second one.
If you have used paint tape, after both coats of paint are dry, use a thin blade between the painting tape and walls to cut through dried chunks of paint. Don’t pull the tape off; otherwise – you could pull off a large chunk of paint with it!
Taking Care of Your New Drywall

Once your drywall is ready, it’s good to go! However, while you enjoy your great new renovation, it’s important to take care of it too. Maintaining drywalls isn’t tough at all, but a little effort goes a very long way in keeping the paint looking fresh.
Tip # 1 – Test Your Surfaces Before Cleaning Them
Before you begin your weekly maintenance of your new drywall surface, test a small patch on the surface to see what cleaning technique works well. For example, satin and flat latex finishes are easy to clean with a damp cloth and some soap, whereas paint that is more chalky is easy to clean with a dry cloth.
Don’t forget to speak to your contractor and/or painter about what they think are the best ways to maintain your surfaces. And of course, don’t forget to protect the furniture and the floor with some tarp before you get cleaning!
Tip #2 – Keep Them Clean
Dust and grime are fairly common in every household. One of the main places they’re found are – you guessed it! – walls. Besides these, the usual cobweb or two are also pretty bad for the drywall in the long run.
The best way to keep away the damage from these dry particles is to take a soft microfiber cloth and run it over your wall gently. You can even use a vacuum cleaner or a broom head covered in a soft cloth. The corners and ceilings are the main places for dust and debris to collect, so don’t ignore those. Spend 10 – 15 minutes a week cleaning your wall, and your paint will look fresh for a really long time!
Tip #3 – Wash Away the Grime
For drywall surfaces in the kitchen and bathroom, it’s best to wash them clean. This is because your contractor will have already applied high sheen or glossy paint onto the surface, which makes it easy to clean rooms where humidity can be found.
Lather some mild soap in a bucket of clean water and dip in a soft sponge. Wring out the sponge and wipe the walls clean. Remember not to keep the drywall surface damp for too long.
Tip #4 – Look Out For Small Damages and Touch Them Up
After some time, your drywall surface will become sensitive to wear and tear. The environment and changes in the temperature or seasons will result in some minor damages that may need fixing up.
Tiny holes can be filled in by using a simple recipe we’ve highlighted above. A bad stain can be coated with some high quality sealant before being painted on. If a bad water leak or rain damage has caused your paint to chip or bubble, you can begin by addressing the source of moisture and then follow it by scraping the paint, sanding the surface, priming it and repainting it.
Tip #5 – Identify the High Traffic Areas
High traffic areas are those spots on the wall that are prone to more dust and damage than other areas. These include the part of the wall that’s underneath a window or behind a sofa or where the thermostat or air conditioner is mounted.
These areas need to be cleaned gently and regularly. The best part is that you only have to clean these areas instead of the whole surface!
Looking for professional advice which is tried, tested and really works? Check out our blog with great painting tips and ideas!
With great info at the tips of your fingers, you’re ready to make your home the architectural feat that it is. Besides, exterior and interior designing is our passion, so go on – call us for an appointment and friendly advice!


