
Interior House Painting
Interior house painting is one of those projects that seem relatively easy to do and intuitive. However, this may not be true. Unless you know a few pro tips and tricks of the trade, you will end up with unsatisfactory results.

If you are planning to take up the herculean task of painting your house interior, you have arrived at the right place. Even though most of us are familiar with the process of painting on flat surface, but a truly professional looking house paint job is totally different. That’s why we’ve assembled plenty of tips and tricks in this post to help you achieve the flawless look and finish you desire.
Equipped with this knowledge, your painting project will be on point starting from the very beginning and you will save yourself from the trouble of adjusting poor quality work at the end.
So, without further ado, let’s begin.
1. Plan Time for Prep Work

If you want to create a flawless finish, you need time to first prepare the surface you’re going to paint. Sand away all the flaws to start with a perfectly smooth surface. Get the black sandpaper that’s coated with silicon carbide. It doesn’t gunk up as quickly as the standard brown one.
Scraping and caulking will also be helpful in removing all imperfections. This work is quite time consuming so make sure you plan out the project in a way that you have plenty of time for prepping the surfaces.
2. Use a Tack Cloth to Clean Doors and Cabinets
A tack cloth is an inexpensive and specialized type of wiping fabric that removes fine particles off surfaces before you can paint them. They are impregnated with resinous substance such as beeswax that lightly pulls off wood shavings, lint, sawdust, and all other debris from surface without the need for wetting it. This is best suited for cleaning window trims, doors, and cabinets rather than large surfaces like walls and ceilings.
When using a tack cloth, it’s important to remember that you don’t press it too hard as the beeswax might smear on the surface, and it won’t be easy to remove.
3. Get Good Quality Covers for Paint Brushes and Rollers
Paint rollers are better than brushes for evenly spreading out the paint, but you also need paint brushes to work on the corners, edges, frames, and other smaller surfaces. When buying them, you must look for high quality supplies.
Low quality, cheap roller covers release lint and fuzz that sticks to the walls as you paint, leaving you with bumpy and textured walls. Similarly shoddy brushes will leave bristle marks. Therefore, it’s worthwhile to invest in better tools if you want a flawless end result.
4. Get the Right Quality of Paint and a Bigger Swatch If You Want to Change the Color Scheme
Just like the brushes and rollers, you have to purchase good quality paint that contains more solids as they create a good paint build. So, high quality paint would last long and give a better finish.
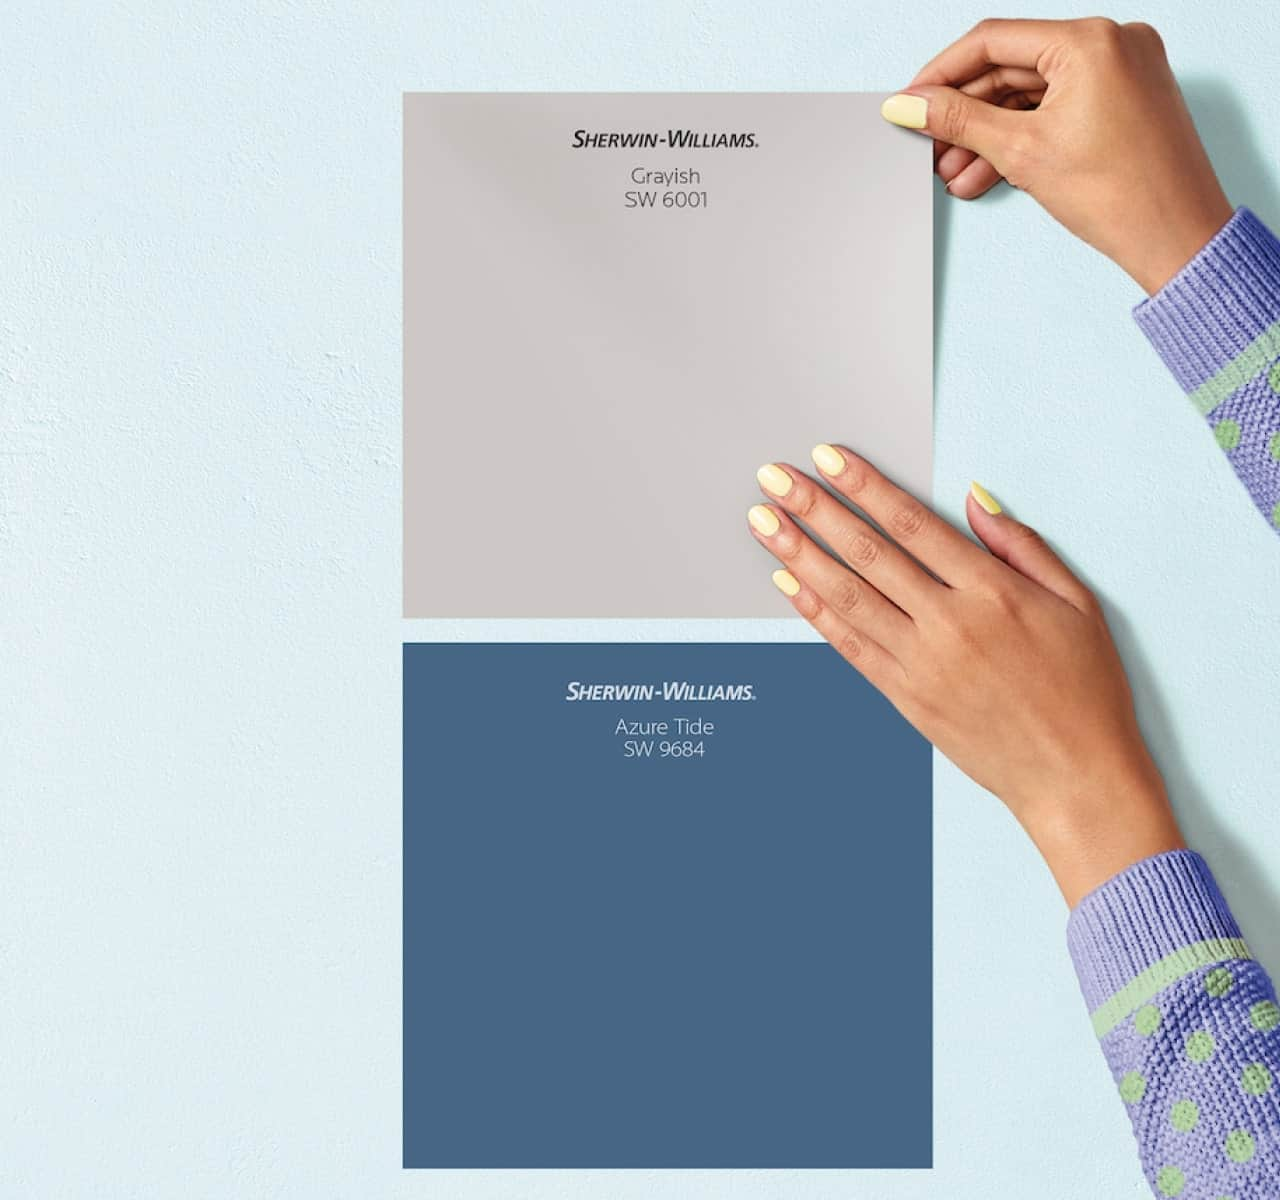
If you want to give a fresh new look to your interiors by playing a bit with colors, get some sample paints. Get a few slabs of foam core that are at least 3-4 square feet in size. Brush two coats on the slabs with the shade you want to try out and put them up against the wall. You will get a good sense of how the color plays off on your flooring and furniture. You can observe it at different times of the day to see how it looks in different light conditions.
5. Cover Your Furniture
It’s not always possible to move the entire furniture out of the room that’s being painted. And let’s face it, it’s a tiresome job to keep moving furniture from one room to the other when there are multiple rooms you have to paint. To make your life easier, just move all of the furniture to the center of the room. Cover it with plastic sheets and tape them at the bottom. It will not only keep your furniture safe from paint drips or splatters, but also from all the dust from scraping the walls.
A great substitute to regular plastic sheets is a masking film. It’s a super thin plastic sheer that grabs on to flat surfaces and doesn’t move from its place. You won’t even need to tape it at the bottom as it remains in its place by means of static electricity.
6. Make Your Roller Covers Free of Fuzz
There’s nothing more frustrating than looking at tiny lint fibers embedded in your newly painted walls. To prevent this from happening, clean the fuzz off the cover of your roller using a lint roller. You can also wrap it up with painter’s tape and then peel it off to keep the fuzz at bay.
7. Wear Latex Gloves before You Begin
Water based paint is easy to wash off from your hands but if you’re working with oil based paint or enamel, cleaning your hands can be a challenge. Also, it’s best to keep your skin protected from chemical exposure so put on latex gloves before you start painting. Another alternative to latex is nitrile gloves, in case you’re allergic to latex.
8. Apply Painter’s Tape Liberally
Painter’s tape, also known as blue tape, is a must-have painting tool to cover any surfaces that won’t be painted such as the junction between the walls and ceiling. It is made using a low-stick adhesive that does not peel off the primer or any existing paint from the surface where it’s applied.
9. Keep a Wet Edge to Avoid Overlap Marks

Overlap marks are the ugly looking stripes formed due to irregular thickness of paint buildup. They appear when you roll over paint that’s already slightly dry. In warm and dry conditions, latex paint can start drying up within just a minute or even lesser.
The secret to avoiding overlap marks when painting walls is to maintain a wet edge so every new stroke of your roller will cover the last stroke before the paint starts to stiffen.
To maintain a wet edge, you will have to start from the bottom near a corner and then run the roller up and down the entire height of the wall. With each stroke, keep moving over towards the unpainted portion of the wall. You might need to move backward at times to even out any thick runs or spots.
Keep in mind that the roller should never become nearly dry, so keep reloading it often so it’s at least half loaded at all times.
You have to pay close attention to maintaining a wet edge especially when you’re working with semi-glossy to glossy paint. With matte paint, there is almost no risk of creating overlap marks.
10. What to Do When You Can’t Keep a Wet Edge
It’s won’t be possible to keep a wet edge when you’re painting large areas like ceilings, stairwells or tall walls. You can’t cover these areas in single, continuous roller strokes.
The best way to reduce overlap marks in this case is to feather out some paint as you move through the edges that can’t be kept wet. The thin and feathered coat will not let the paint to build up and form marks.
11. Mixing Paint for a Consistent Color throughout the Room
The color of different buckets of paint may be slightly different. The variation in color may become noticeable if you have to open a new can of paint in the middle of a wall. Therefore, it’s always better to mix the cans together in a large bucket to eliminate this problem especially when you have to paint a large area in the same color.
12. Use a Primer for Interior House Painting
Want to know what pros do before they paint walls? They use a primer to avoid a blotchy look at the end of the job. A primer acts like a seal or base to fill any tiny cracks and holes on a wall. If you paint directly over them, they will suck the paint giving it a dull and bumpy texture – a problem called flashing.
Tinted primers work even better than the plain primer for covering the existing paint color, making your final finish even more vibrant. Using a primer will also reduce the number of paint coats required especially with colors like red or orange.
13. Follow the Right Order
Most homeowners would first do the walls and then move to the trims while the first coat on the walls dries up, and then back to the walls again. This doesn’t let you create sharp cut lines between the walls and trims. Therefore, the right sequence is to first paint the the ceiling, then walls or trim.
You don’t have to be too neat when doing the trims, just focus on getting a smooth finish. Even if any paint does get onto the walls, you can easily cover it up when you’re working on the walls. Once the trims are completely dry, tape them off with the painter’s tape. You can then proceed with the ceiling and walls.
14. Press Tape to Avoid Paint from Bleeding Through It
How annoyed would you feel when you peel off the tape at the end of your paint job only to realize that some paint bled through it? To avoid the painful chore of having to scrape off the paint from the woodwork, be a little extra careful when using the tape at the start.
Once the tape has adhered to wooden surface, use a putty knife to run over it, applying pressure for a perfect seal.
15. Load Your Paint Brush like a Pro
When using a paint brush, you have to make sure you don’t overload it. For this, dip the bristles of your brush not more than halfway into the paint bucket. Then lightly tap the ends of the bristles against both sides of the bucket to remove any excess paint.
16. Don’t use Your Bed Sheets as Drop Cloths
Paint spills and splatters are unavoidable no matter how careful you are. Therefore, it’s better to be prepared for them rather than scraping your wooden floor or struggling to clean your carpet later. But if you’re thinking of using your bed sheets as drop cloths, it’s a bad idea! Those thin sheets aren’t capable of stopping spills from seeping through.
Using plastic drop cloths is an even worse idea as they’re slippery to walk on or keep the ladder in place. Moreover, the spills stay went on plastic sheets and can end up on your shoes creating a bigger mess. The best option is to use canvas or rosin-paper drop cloths. They are neither slippery nor let paint seep through. However, they are also not 100% mess-free. In case of large spills, you will have to use rag cloths to wipe them off.
17. Buff Sand the Trim in Between Coats
When working on the trim, a single coat of paint may not be enough to hide existing color and sheen on it. If you keep applying coat after coat, the resultant finish may appear grainy and unattractive. For an ultra smooth finish you will need a fine-grit sanding sponge to lightly sand the trim prior to applying each paint coat.
Give at least 24 hours to let the first coat dry and then sand it off to get a completely smooth surface. For even better results, wipe the trim using a tack cloth each time you sand it.
18. Hire a Professional
If you feel that interior house painting is a daunting task and the DIY route is not for you, leave it to the experts!
A professional painting service will take care of every aspect of the job starting from prepping to priming to painting and finally cleaning the mess. You will not have to worry about the tools and materials as they will bring in the best quality stuff and even give you expert advice on how to keep the paint looking flawless for longer.
If you’re looking for a reliable painting service, get in touch with One Man and A Brush today. Our experts will go above and beyond to meet all your specific requirements and give your house the perfect makeover!